Project Description
Tutorial Overview
HDR Image-based lighting, ambient occlusion, and an-aliasing are all key ingredients to creating beautiful renders. Unfortunately, they are also some of the leading causes of painfully slow render times. What would you say if I told you these could be rendered in real-time?
This tutorial series is an introductory overview of real-time physically based rendering in Cinema 4D. In this 5 part series I go over several test projects, showing you tips and tricks to get you started with this extremely powerful rendering technique. I cover some of the huge, time-saving benefits of combining real-time rendering with Cinema 4D’s deep tool set, as well as some of the trade offs when compared to offline rendering.
This series is not intended to be step by-step-instructions. It’s really just me sharing some PBR examples with you and passing on what I’ve learned.
If you’re looking for a way to add more realism to your renders, while rendering a couple hundred times faster, and all while actually improving Cinema 4D’s view-port performance, then this is the tutorial for you.
Ninja Level

Programs
Refrence Links
FrostSoft PixelBerg Plug-in:frostsoft.blogspot.ca/p/plugins.html
Quixel:quixel.se/
Quixel models:quixel.se/usermanual/quixelsuite/doku.php
Generator Motion (Rich Nosworthy) 99 frames Flying Leaf scene: generatormotion.com/?p=409
Holger Biebrach modelling scripts:holgerbiebrach.com/?p=1378
Other tutorials from this series
C4D PBR Part 05
The 5th and final part of the series is all about final output. Being that Pixelberg is a view port render, the way you go about rendering animations is slightly different than what you may be accustomed to. I’ll show some comparisons between Cinema 4D’s built in Physical Render Engine and the results obtained by Pixelberg in a shockingly smaller amount of time. Plus… cat attack… so you know, that’s worth watching.

C4D PBR Part 01
In part 1 of this series, I go over some of the basic steps to get up and running with the Pixelberg plugin. We’ll get familiar with the interface and where to find the tools you’ll need. We also talk about where you can get the plugin as well as some places to find some assets to do some initial testing with.

C4D PBR Part 02
In part 2, we look how to use HDRI lighting, combined with Cinema 4D’s inbuilt lighting tools, to get impressive real-time results. I showcase some of Pixelberg’s unique ways to add lights that dynamically adjust their properties based on an HDRI image. Lastly, we look at some tips and scripts that make adjusting and optimizing your view port settings a breeze.
C4D PBR Part 03
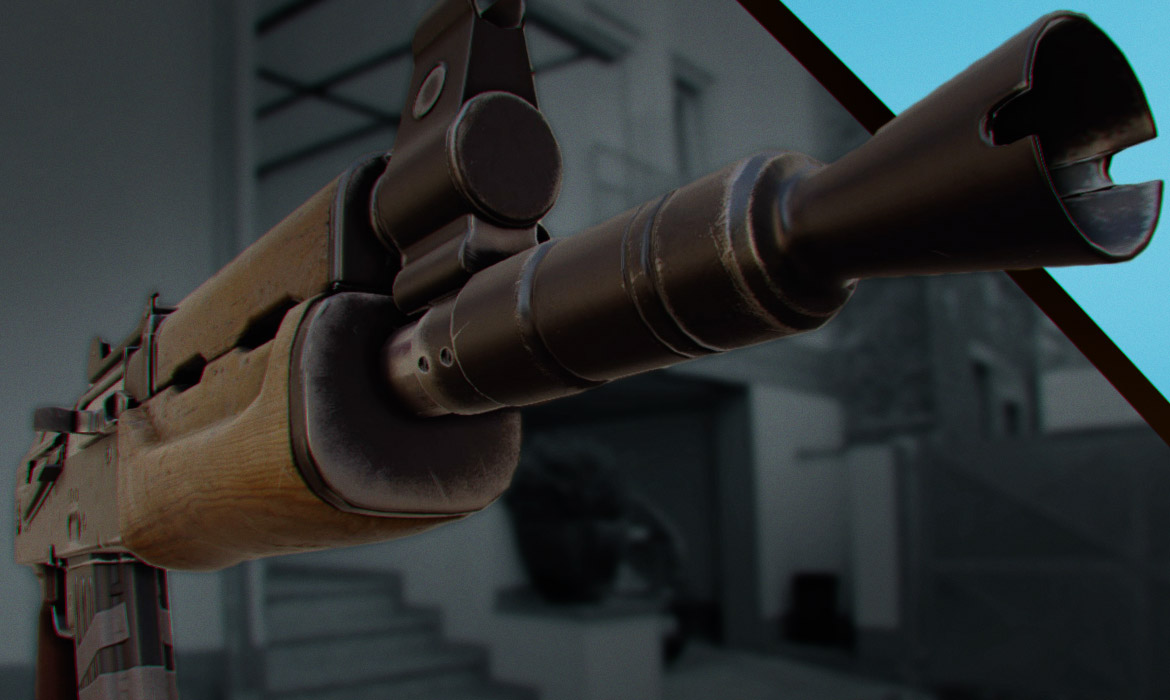
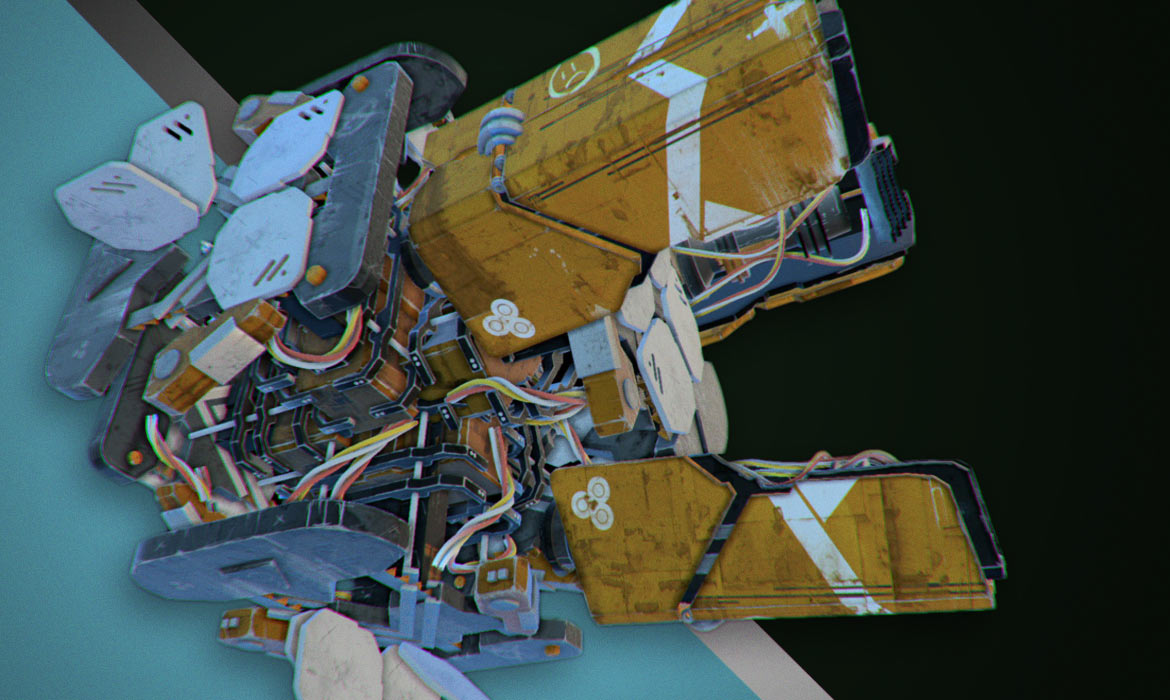
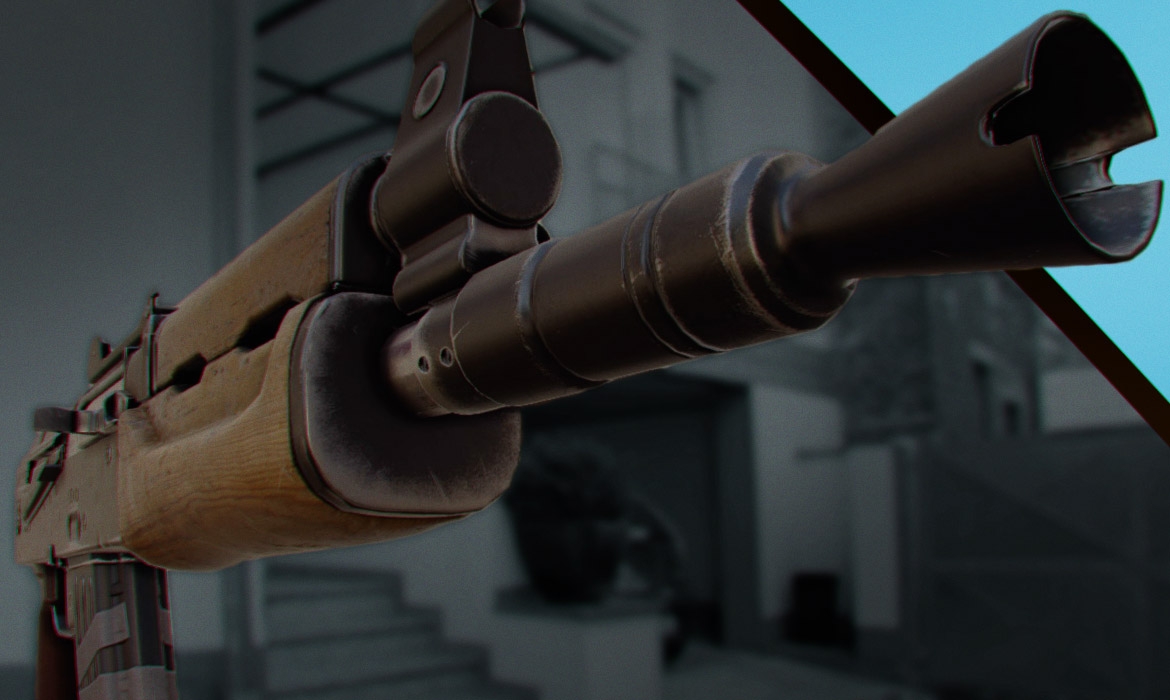
Part 3 of the series explores some of my favourite features in Pixelberg’s post effects. We’ll get a look at what adding real-time anti aliasing, depth of field, blooming, tone mapping, and ambient occlusion can do for your renders. I put Pixelburg’s real-time abilities to the test by animating a swarm of assault rifles. Lastly, I go over how easy it is to navigate Cinema 4D’s view port, in real-time, with incredible ease and precision.